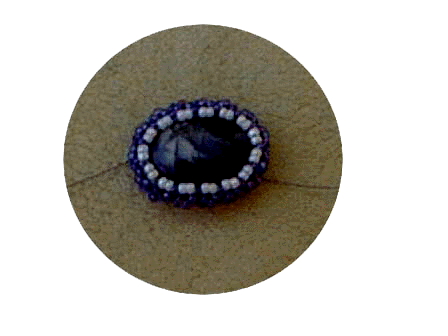
Now it's just that old familiar peyote stitch--add one bead then go through the one added in the last round--depending on the size and shape of the cab, you may have to decrease rather radically at this point--go to it.
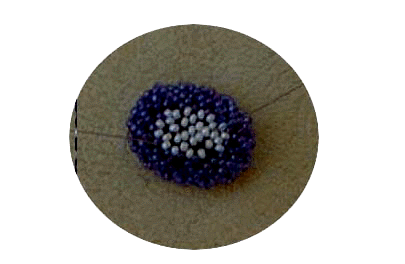
This is the top of the newly beaded cab.
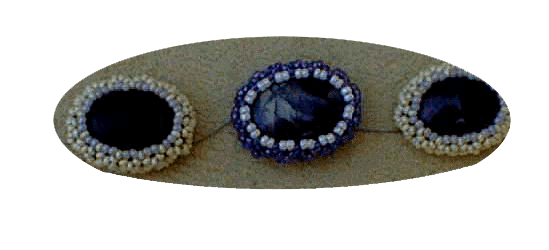
Three covered cabs--they look prettier in real life than they came out in the pics, take my word for it. I'm thinking of making a bracelet sort of along the lines of the old scarab bracelets we wore in the late 50's.(Yep, I'm old enough to remember those)
Here's a letter I got from a beader with another method--Thanks Kara!
I also do lots of beading around cabs, but my method is a little different
- I make my first circle smaller than the back of the cab (it will be on
the back) and build much less netting around it as I work toward the front
of the cab. Each picot has more beads, but I don't use as many picots as
you. For instance, my second row might have seven picots of 9 beads each,
and there would only be three or four rows of netting around the entire
piece. I also don't usually cover the back of the cab with beads. The
final effect is a little lacier, and can make the cab look kind of faceted.
Depending on the stone and the piece and the effect you want, both methods
would work well. Thanks for your time in putting it up.
Happy beading!
~kara
There's another method on Red Ventling's page.

(Non-Frames Home) (Gallery) (Patterns) (Beadartists) (Links)
I Am A Proud
Member Of:

Phenomenal Women Of
The Web